History
The predecessor to the tattoo machine was the electric pen invented by Thomas Alva Edison and patented under the title Stencil-Pens in Newark, New Jersey, United States in 1876. It was originally intended to be used as a duplicating device, but in 1891, Samuel O’Reilly discovered that Edison’s machine could be modified and used to introduce ink into the skin, and later patented a tube and needle system to provide an ink reservoir.
While O’Reilly’s machine was based on the tattoo rotary technology of Edison’s device, modern tattoo machines use electromagnets. The first machine based on this technology was a single coil machine patented by Thomas Riley of London, just twenty days after O’Reilly filed the patent for his rotary machine. For his machine, Riley placed a modified doorbell assembly in a brass box. The modern two-coil configuration was patented by Alfred Charles South, also of London. Because it was so heavy, a spring was often attached to the top of the machine and the ceiling to take most of the weight off the operator’s hand.
Most modern tattoo machines can control needle depth, speed, and force of application, which has allowed tattooing to become a very precise art form.
Source: https://en.wikipedia.org/wiki/tattoo_machine
Description
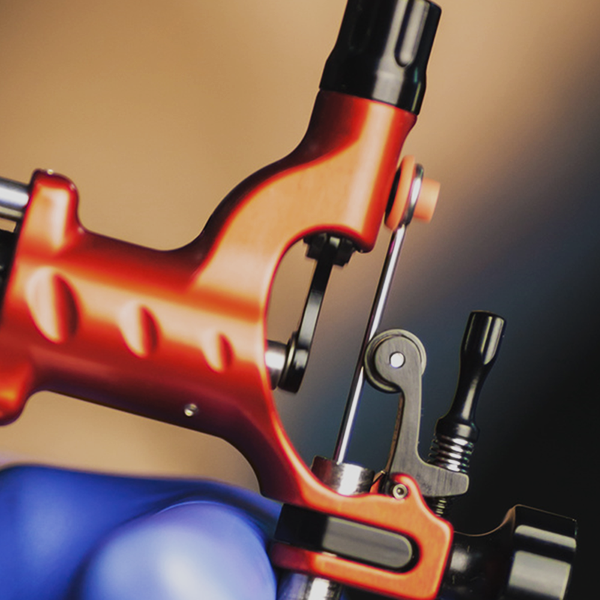
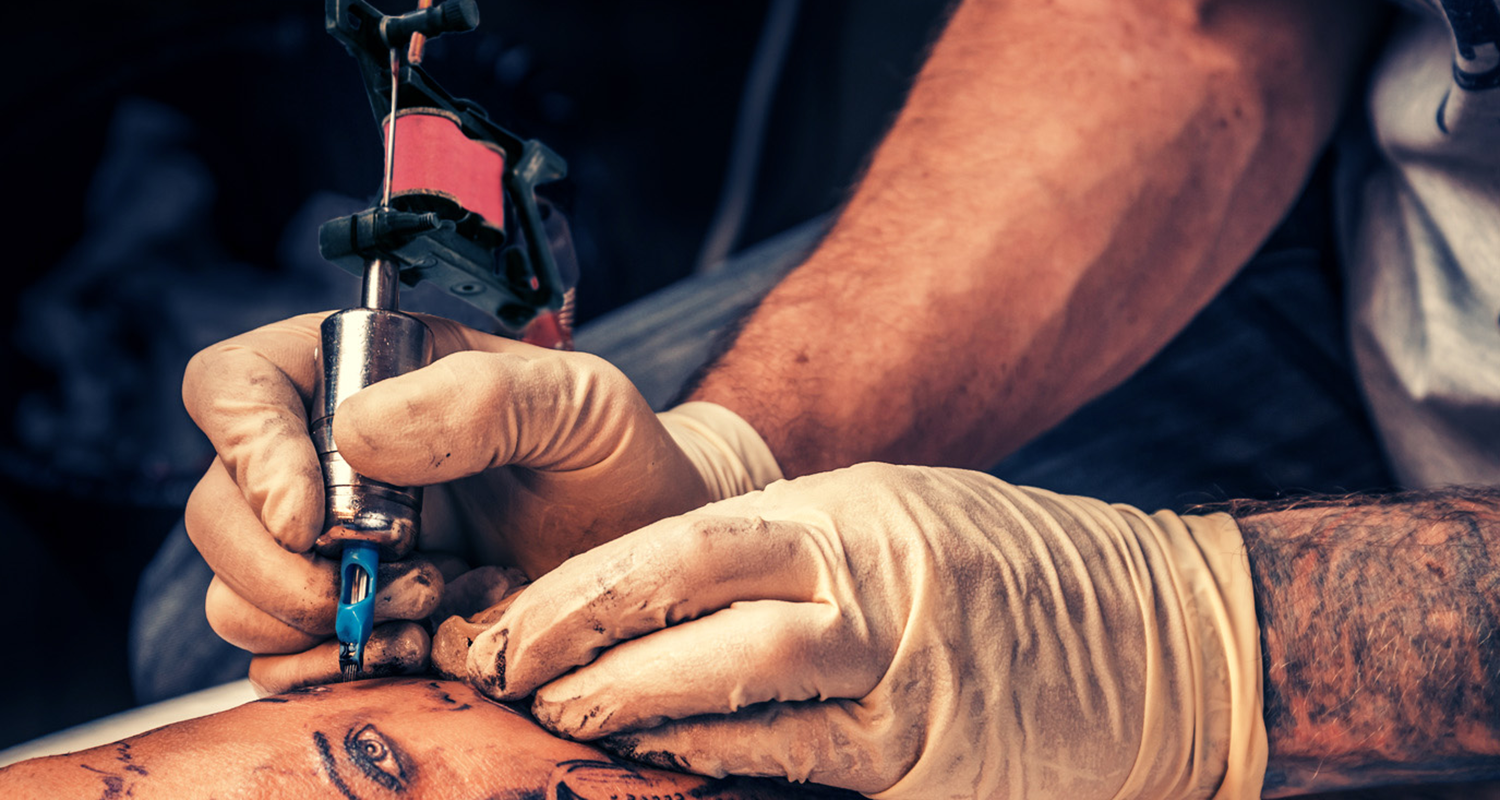
What’s a coil tattoo machine?
The coil tattoo machine was until the 2000’s the most used tattoo machine by tattoo artists of all styles and origins combined. This machine uses an electromagnetic current to move the needle grouping up and down. There are several variations but I am concentrating this article to the most used, which is the two-coil tattoo machine. It may be assembled with various conductive metals and has many shapes, sizes, weights, colors, etc.
The advantages and disadvantages of coil tattoo machines
When perfectly setup and adjusted, the coil tattoo machine can be much easier and faster for the user. They have perfect balance between speed and force. Their main disadvantage is their weight and adjustment difficulty for some users. It also requires frequent maintenance.
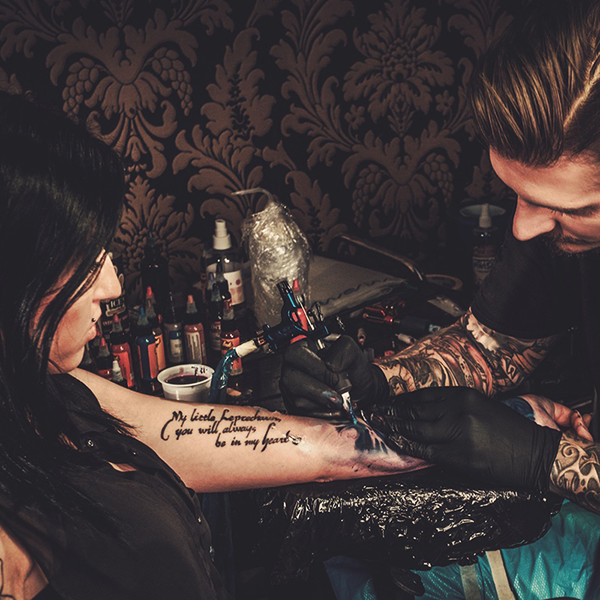
Who uses a coil tattoo machine and for what?
There are still many tattoo artists who use a coil tattoo machine for perfectly precise work where as some others use them simply because that is what they are used to. Many artists prefer them for lining and use their rotary for the rest.
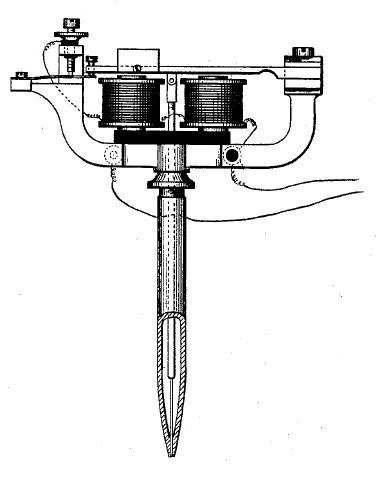
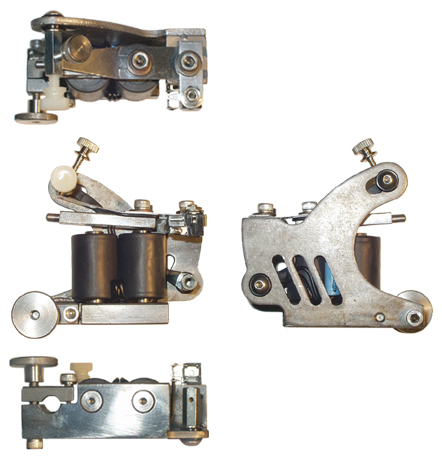
Main Components
The frame
The most commonly used metals to make the frame are cast iron, copper, brass, bronze, stainless steel and aluminium. Each differs in weight and electrical conductivity. The lighter your coil machine is, the more you will feel the vibrations. We could say that a heavier machine can help steady the hand. However, the heavier it is, the faster you will feel fatigue in your hand, arm and back. Some metals require more frequent maintenance than others as they tarnish faster. The extravagant shape of certain coil machines is an unnecessary addition as they only add weight and can be harmful to certain users. The important thing is to find the right balance between weight (for hand stability vs comfort) and metal conductivity. A greater conductivity increases the hitting force.
The coils
The coils are usually 8, 10 or 12 wraps (number of revolutions that the thread does on the coils). The coils create the movement (impedance). They are responsible for regulating the speed and the strength of the machine. Usually the greater the number of wraps, the more powerful your coil tattoo machine will be. They serve as a magnet when the electric circuit is activated.
The capacitor
The capacitor is used to stabilize the supply of power. The filter separates and stores energy. The greater the microfarads (uf), the slower and more powerful your machine will be contrary the lower the microfarads, the faster and less powerful your tattoo machine will be.
The armature bar
The armature bar is essential to strengthen and increase the resistance of the spring system. It is made of a magnetic metal that is attracted by the coils when it is activated. On it rests the rod that supports the needle grouping.
The springs
The front spring generally has the shape of an A and is bent. It serves as a shock absorber between the armature bar and the contact screw. It is the front spring that activates and stops the electrical circuit with the contact screw.
The back spring usually has the shape of an H. It is the back spring that is responsible for maintaining a uniform motion and lifting the needles out of the skin. Its curve is determined with the adjustment of the contact screw and the stroke (distance between the coils and the armature bar when the tattoo machine is resting). The longer the stroke, the more the needles are projected powerfully into the skin. For example take a metal ruler, place one side on your thigh and lift the other side 5 cm and release it. Repeat the exercise but this time lifting the ruler 20 cm and release. You will notice that the hitting force is amplified when the distance is increased.
The springs will affect the circuit if they are shorter, longer, thinner or thicker. The longer and thicker they are, the longer your electric circuit becomes and so the movement will be smoother and softer. The shorter and thinner they are, the shorter the circuit will result in creating more force.
The contact screw
The contact screw is attached to the coil tattoo machine by the binding post. It comes into contact with the front spring to create the electrical circuit. It adjusts the distance travelled by the armature bar with the back spring. The tighter the contact screw is (bringing it closer to the front spring) the more the distance travelled will be reduced. This increases the speed execution and reduces the front spring bouncing effect. Loosening the screw will produce the opposite. It will increase the distance travelled, the flexibility and the bouncing effect. Tightening or loosening too much will cause an electrical circuit malfunction. The contact screw can be made of different conductive metals like the frame. The most recommended is silver or sterling silver. The contact point where the contact screw touches the front spring forehead creates a groove in the front spring due to the friction between the two parts. As silver stays cooler when conducting the electrical circuit, the damage will take longer than other metals such as brass, copper or steel.
The Setups
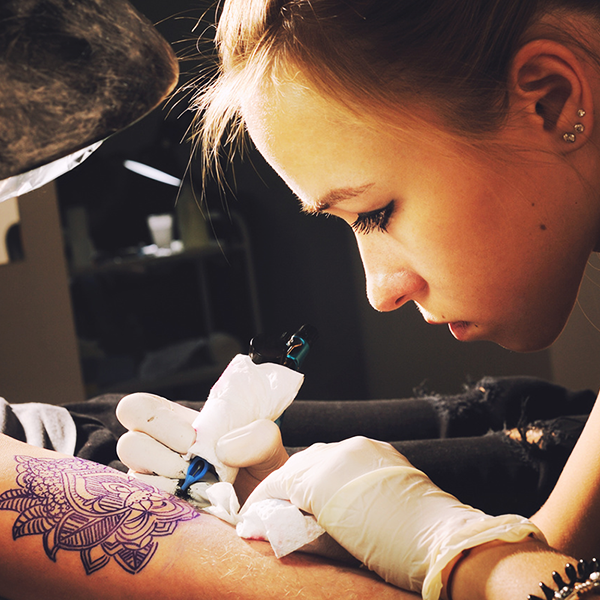
Lining
A coil tattoo machine that is setup for lining is typically used with a 1 to 7 needle grouping positioned in circles. It uses fewer coil wraps, usually 8 wraps (for less electromagnetic force) because a smaller needle grouping makes it easier to puncture the skin. The machine should be configures with a short stroke (less distance travelled) because it requires less hitting force. Its shortest movements will be faster but weaker.
Using a needle grouping larger than 7 will require different adjustments compared to a conventional lining tattoo machine. Trying to compensate by increasing the voltage will increase the amperage that could overheat the coils and possibly affect the timing of the machine.
We should instead use bigger coils such as 10 coil wraps with a bigger stroke to compensate for the resistance.
Shading
Shading is done with a needle grouping of up to 9 and typically uses 10 coil wraps. When using bigger needle groupings it is recommended to use a coil tattoo machines mounted with 12 coil wraps. As shading requires slower speeds than lining but with greater strength (bigger needle groupings) and with the bouncing effect increased, it is recommended to use a medium stroke (medium hitting force) with the front spring tension decreased (to increase bouncing).
Colour packing
Injecting color into the skin requires a slower speed and greater force than shading. Again the coils and the strokes should be adjusted accordingly to the needle grouping used. The tension between the contact screw and the front spring should be a bit greater than the adjustment made for shading but lower than the one made for lining.
Factors to Consider
Some factors you should consider when choosing your machine:
- The weight of the machine (needs to be stable and comfortable for the user)
- The user (speed of execution)
- The needle grouping (the number of needles, configuration, size and needle tip used). The more needles there are, the bigger they will be, which means your taper will be shorter therefore you will need more strength to puncture the skin.
- The work to be performed (lining, shading, colour packing)
A coil tattoo machine should be set according to your strength and speed needs (skin type and body part needs should also be considered).
The Main Adjustments
The length of the stroke (distance traveled by the needle bar) determines the hitting force or the force at which the needles are projected into the skin.
The thickness, the curve and the tension of the springs determine the force with which the needles will be pulled out of the skin.
The compression or decompression of the front spring by the contact screw will determine the bouncing effect and will adjust the distance traveled by the needle bar. It also has an effect on the distribution resistance with the back spring.
The length of the circuit is adjusted with the length of the front spring and the position of the contact point between the contact screw and the front spring. It will determine, along with the coils, if the machine is mounted for lining, shading or colour packing.
A coil tattoo machine requires perfect synchronization of the three systems: mechanical, electrical and magnetic.
Here’s a table which I hope will help:
| Work and Needle Grouping | Coils | Capacitor | Stroke Adjustment | Length of the Circuit | Tension on the Front Spring |
|---|---|---|---|---|---|
| Lining up to 7 | 8 wraps | 15uf – 22uf | Short | Short | Strong |
| Lining 9+ | 10 wraps | 33uf – 45uf | Medium | Short | Strong |
| Shading up to 7 | 10 wraps | 33uf – 45uf | Medium | Long | Weak |
| Shading 9+ | 12 wraps | 33uf – 45uf | Medium | Long | Weak |
| Colouring up to 7 | 10 wraps | 45uf – 65uf | Long | Long | Medium |
| Colouring 9+ | 12 wraps | 45uf – 65uf | Long | Long | Medium |
I’ll conclude my article by stating that there are many manufacturers of coil tattoo machines on the market but the good machines are generally sold for over $200 and some even more than $500. It is possible to find coil tattoo machines at a much lower price but you get what you pay for! You can expect it to be a poor quality machine. Beware of good deals and auction sites because you won’t find a real and worthy coil tattoo machine.
I sincerely hope I have managed to demystify some of your questions on the coil tattoo machine and I want you to know that the term and citied adjustments are generalities and that there are as many tuning and setup options as there are artists.
If you have any questions, comments or tips to add, please do not hesitate to do so.